At the last Kubernetes training I had the idea to have a real cluster to run Kubernetes. Unfortunately it is not an option to build a data center in the basement ;-), but I wanted to build something with a Raspberry Pi anyway…
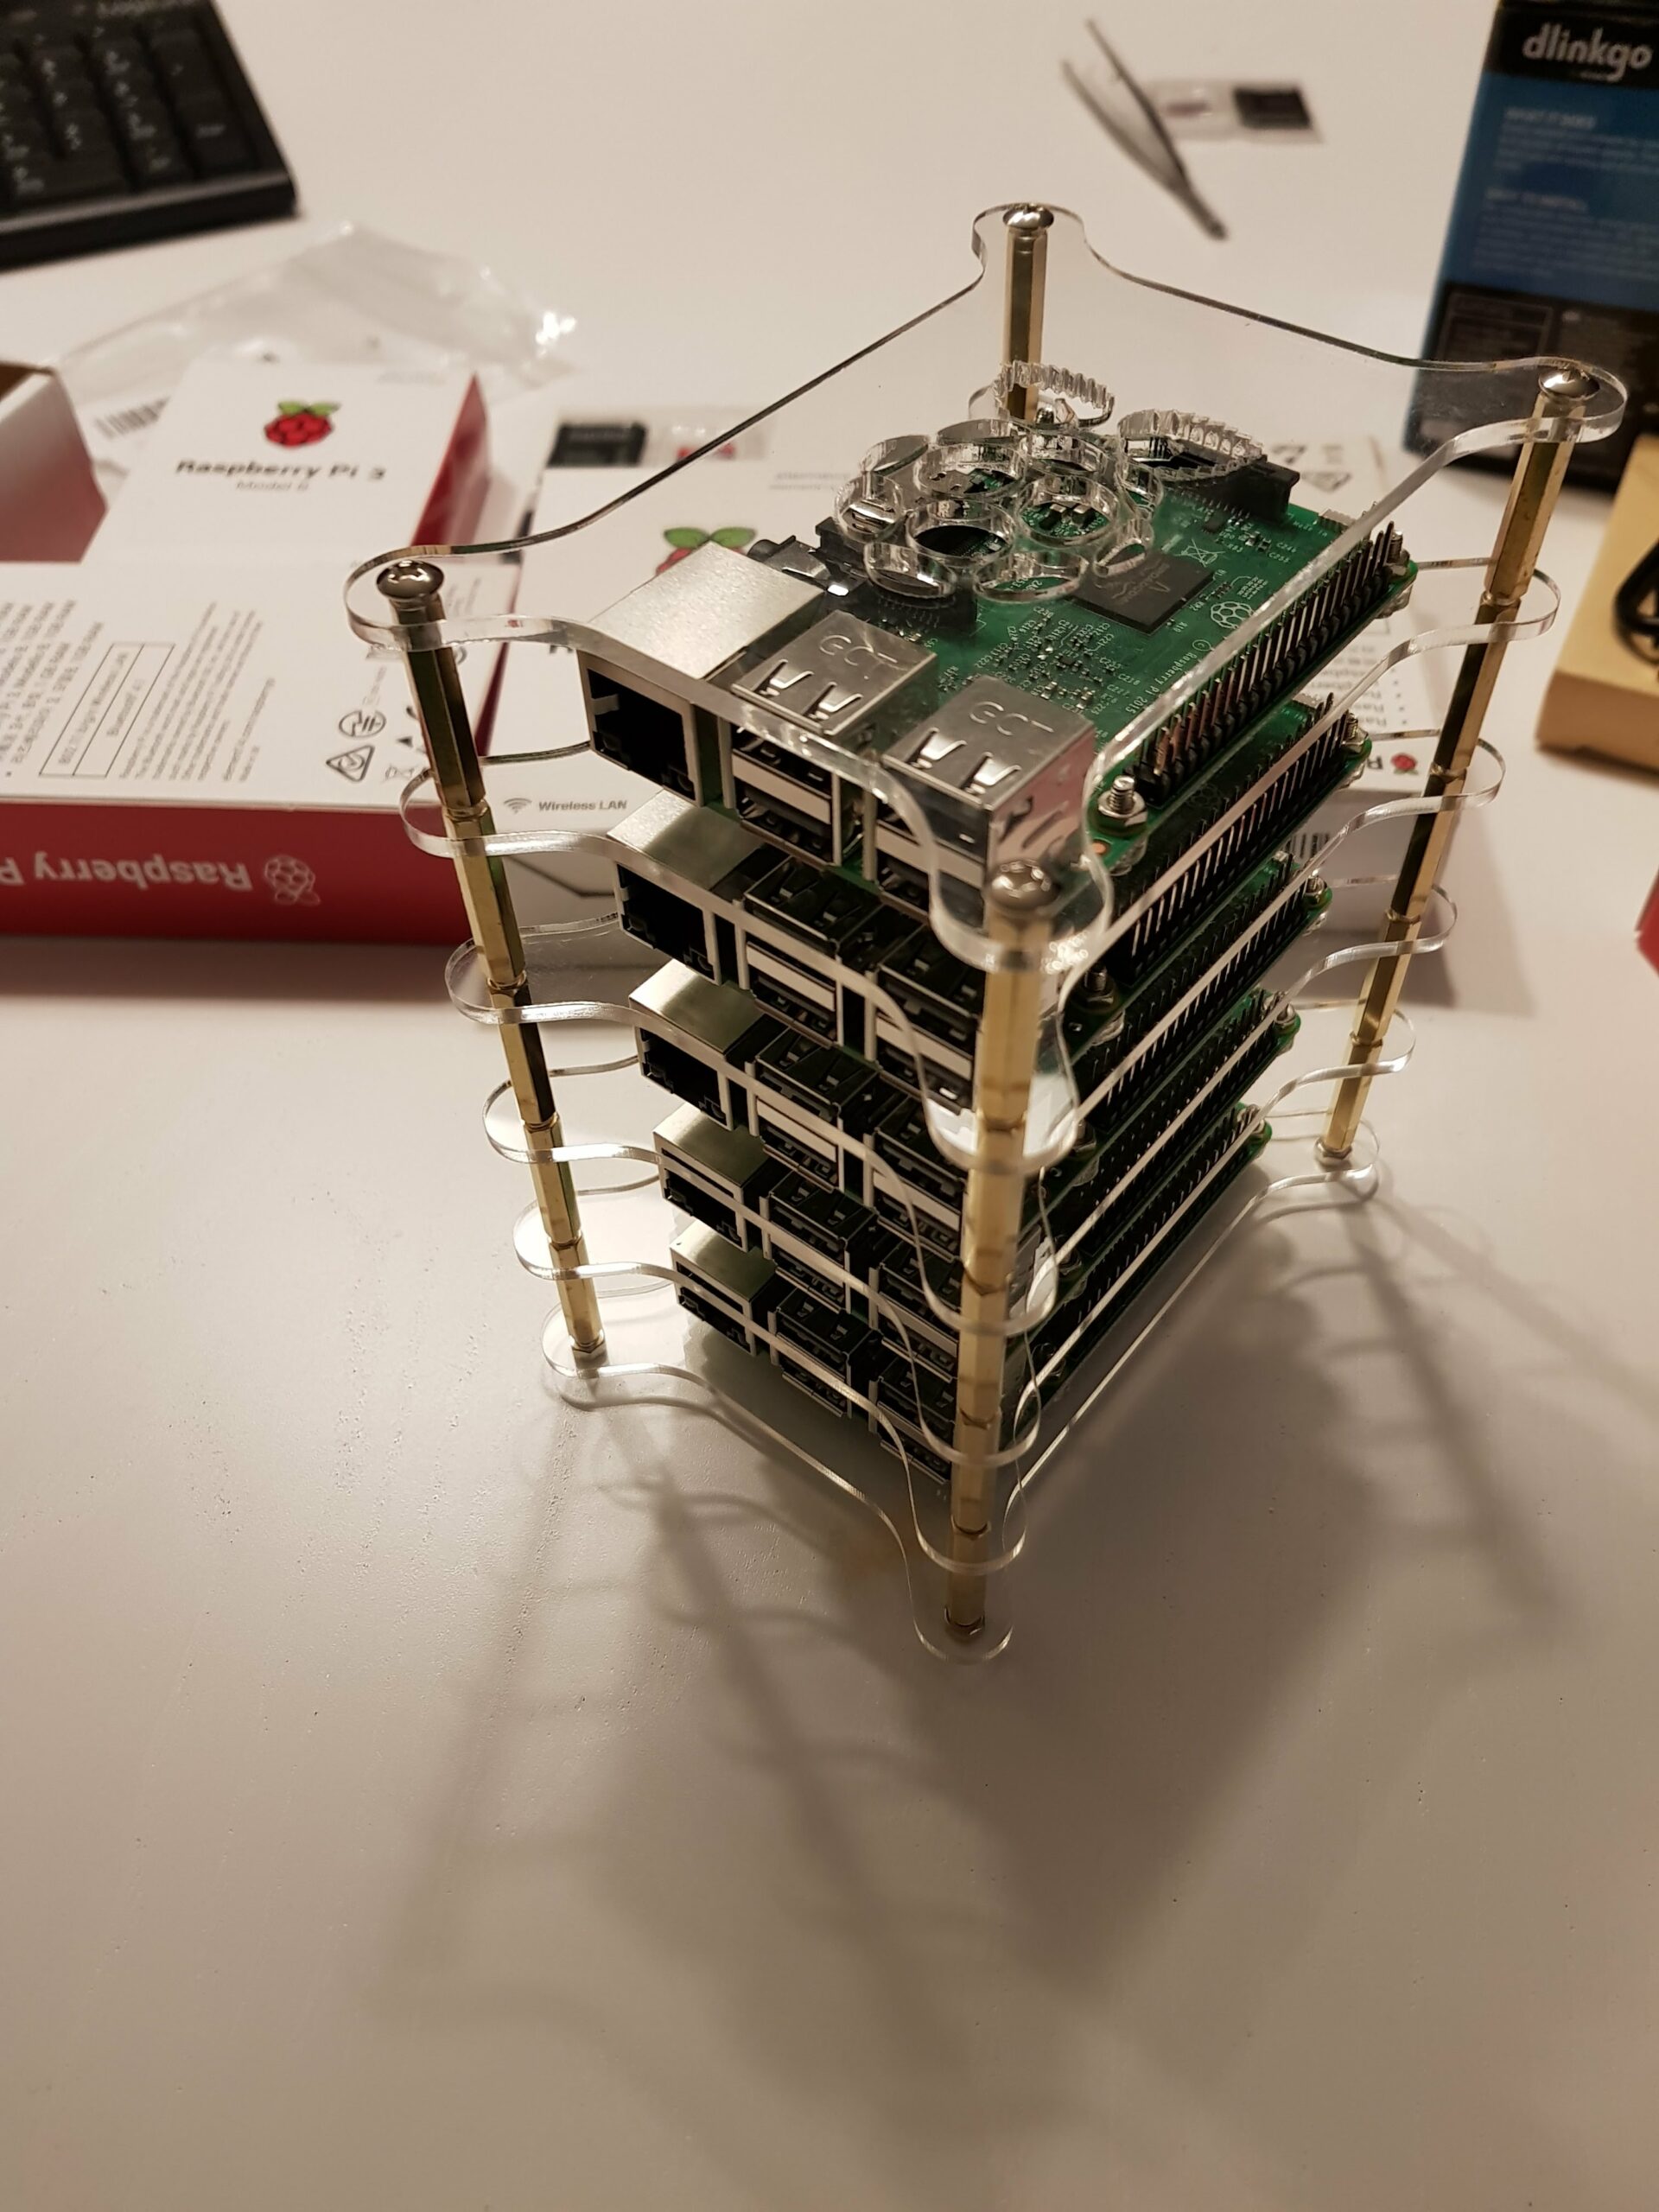
So I decided to build a small stack with Raspberry Pis. This is the parts list:
- ILS – Clear Acrylic 5 Layer Cluster Case
- Anker PowerPort 6 60W 6-Port USB Charger
- D-Link GO-SW-8G 8-Port Gigabit Easy Desktop Switch
- 5x Raspberry Pi 3b
- 5x SanDisk Ultra 16GB microSDHC
- 5x Ethernet CAT 5 Kabel, 1m
- 5x Micro USB Kabel, 30cm
The whole thing looked something like this:

I admit, I expected it to look more spectacular 🙂
Anyway, it is a nice package and unfortunately there is a lot of packaging waste. A quality control on hardware level is recommended, because once the Raspberry Pis are screwed together, it’s hard to get at them. So check if anything is hidden, scratched or cracked. Everything was okay when I delivered it.
It is also a good idea to test the freshly flashed SD cards, i.e. flashed the card, boot Raspberry with it and do the basic setup.
The Raspbian Project provides a detailed instruction how to do this on its pages. I use Raspbian 9.3 lite here, without a graphical user interface.
A nice tool that saves and simplifies a lot of work is raspi-config.
$ sudo raspi-config
starts the program. It is a console program, but offers a structured interface that makes navigation and use easy and comfortable. Since I had support here, we made a list on which we wrote down the menu items with their code number (e.g. 2.1 -> Blubb) and the target value. So the Raspberries all have the same basic configuration. A provisioning of fresh Raspberries is then something for a following post.
The relevant points for our basic setup are in my opinion
- 1 -> Mb2.r5oHf-0t (Most secure password)
- 2.1 -> nodeXX (Using two digit node names, you never know ;))
- 2.3 -> yes
- 3.1.1
- 4.1 de_DE.UTF-8
- 4.2 Europe/Berlin
- 4.4 DE
- 5.2 Yes
- 7.1 (reboot required)
Thus the Raspberries have a usable basic configuration.

When rebooting, which is necessary for the filesystem resize, please pay close attention to the log output. Ideally nothing should happen, but you never know. By the way, Google is your friend. Almost everything you come across in your daily handicrafts life has been experienced by someone else. So you might find a solution that you just have to adapt to your circumstances, or you can work on a solution together. It would be helpful to report bugs only if you can reproduce them and if they occur in more people than me. In this setup I use Raspbian 9.3 lite. If you need help there, StackExchange can be a good starting point. In my experience it pays off to try to work on your own problems and read man pages first.
Fortunately, there is little potential for difficulties so far and we can turn to hardware assembly. I will spare myself the exact details here, because they depend largely on the case used. The important thing is: After hard comes loose.
Also, the distances should not be too tight, so that the air has a chance to get in between and move. If you want to use heatsinks or not, seems to me rather a question of taste. But in a later post we will set up a monitoring system that logs the temperatures and we can then decide based on data.
For the cabling the packaging waste can help us. There are a lot of wire cable ties in the package, which we can recycle right here. The power supply has an adhesive pad with which we can stick the power supply on top of the stack. This makes the setup a bit more compact and you could use it as a demo setup for sales or trade shows. But I would use shorter ethernet cables for a new setup, because they are a bit too long for my taste.
In my setup, the stack ends up on the small NAS, which provides the NFS storage for future experiments. I chose a simple single bay synology for this to make storage easy to deploy. Of course, this synology is not the fastest, but with about 90€ it is also cheap for small experiments. Now we have completed our hardware setup. There is certainly still a lot of potential for optimization. We don’t really need the IO pins and we could also use smaller Raspberries. The memory cards are also relatively small, but we compensate this with the NAS. But if you need more locally, the 32GB cards hardly cost more. And it wouldn’t be unexciting to find a case that at least hingedly covers the LEDs, because unfortunately they can’t be switched off by software anymore, so that the operation in bedrooms is complicated.
But the software side has not been considered yet. Since I plan to manage the Raspberries with Ansible, this will be a separate post. To quickly execute a command on all nodes, I put two small shell scripts in my Git Repo.
The first one is the one you should run first:
$ ./ssh-copy-id-all-nodes.sh
If you enter your nodes in the “nodelist” file, you can use it to distribute your public key to all nodes. This is the basic requirement for conveniently executing commands on all Raspberries. Because if you do not distribute your public key, you would have to enter your password on each node each time.
If you have not yet generated a key pair on your computer, you can do this easily with
$ ssh-keygen
On Windows with Putty it works a bit different, but then the bash scripts don’t work either.
Once I have distributed my public key, I can simply use
$ ./commandOnAllNodes.sh
to execute a command with parameters on all nodes. I have set the user to use to “pi” in the script, if you want to use another one you can easily adjust the script.
I doubt if you want to do system management with it 😉 But for the first post this is sufficient. In one of the next posts ansible will step in to solve such things properly.