This post is the first post in a series of posts that will show you how to create a website called “myStuff” end to end. This means:
- write the source code for your website
- write tests
- build the code
- run the tests
- deploy
These posts will help you to understand the whole development process, not only a dedicated process step. This implies none of the sections will contain each and every configuration option. Instead it will help you getting things started.
In this post we will start by setting up all the tools we need.
What tools will we use?
- Visual Studio Code as Integrated Development Plattform
- node.js for backend
- React for frontend
- Swagger for API
- gogs as git server
- Jenkins as integration server
- Docker for packaging
- Heroku Docker for deployments
Preparing Windows
First off, make sure you are running the latest stable Windows release. To find out, hit the windows button and type ‘winver’ and hit enter. You should run version 2004 or newer.
Next step is to enable the Windows Subsystem for Linux. Hit the windows button, and type ‘powershell’ but not hit enter, instead select ‘Run as Administrator’
First, enable the WSL feature:
dism.exe /online /enable-feature /featurename:Microsoft-Windows-Subsystem-Linux /all /norestart
Next enable the Virtual Machine Platform:
dism.exe /online /enable-feature /featurename:VirtualMachinePlatform /all /norestart
The shell should look somewhat like this:

Now you should restart your machine.
We need to set WSL2 as the default, so hit the windows button, and type ‘powershell’ but not hit enter, instead select ‘Run as Administrator’ and type:
wsl --set-default-version 2

WSL needs to update it’s kernel, follow the link and install the update https://aka.ms/wsl2kernel:

Run the installer, the go back to the powershell and repeat the last command (press arrow up):

Now it’s time to install a Linux distribution, in this post I will use Ubuntu 20.04LTS. Head to the Microsoft Store, search for Ubuntu and click install.

This can take a while, it will install a complete userland. As soon as it is finished, you can launch Ubuntu from your Windows start menu (yes sounds weird).
Now we can create our new user and password, they do not need to match the windows credentials. And there you go, your Ubuntu inside Windows 🙂

Now we need to download and install Docker for Windows, you can get it here: https://hub.docker.com/editions/community/docker-ce-desktop-windows/
The installer will ask you for two options, make sure especially the WSL 2 Windows Features are enabled:

To complete the installation, click ‘ok’, then ‘Close and log out’ as soon as the installer has finished.
After logging in again, start Ubuntu from the start menu and issue
docker ps
to see if the docker integration works. You should receive this:
![]()
Installing gogs
Basically it does not matter, what kind of git server you use. So for this demo, I decided to use gogs, since it is very lightweight and still has all relevant feaures.
Launching gogs is straight forward:
docker run -d --name=gogs --restart unless-stopped -v gogs-data:/data -p 10080:3000 gogs/gogs
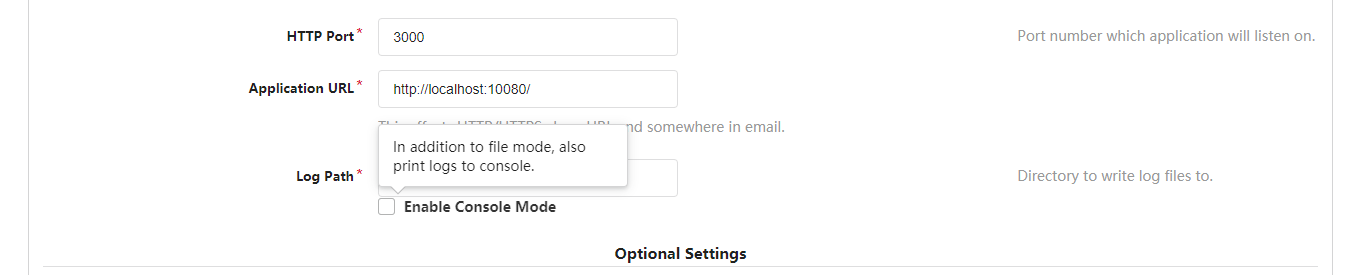
and you can access the setup via http://localhost:10080 to configure the basic settings.
If you don’t have docker on your system, you can find ways to install it here: https://docs.docker.com/get-docker/
You should change the gogs database to SQLite3, to save us running and configuring a database.
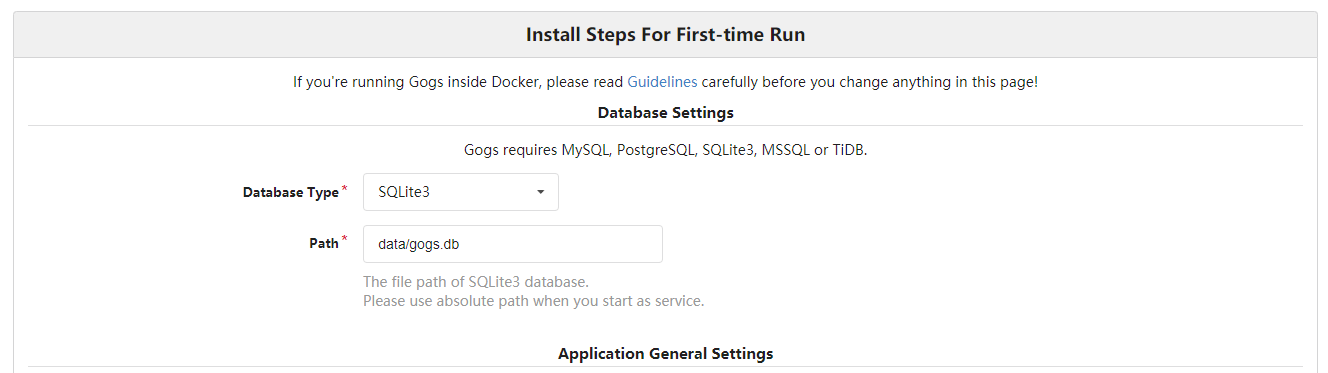
You need to configure the gogs url as well, so it matches the port forwarding we configured with docker.
Leave all the other settings in default, and click “Install Gogs” and it will greet you with a login screen:

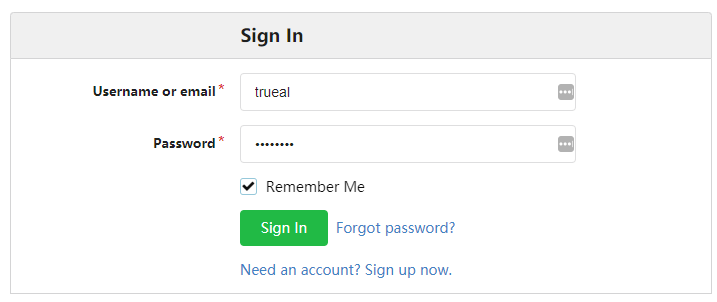
You can create a new account and login with the new account.

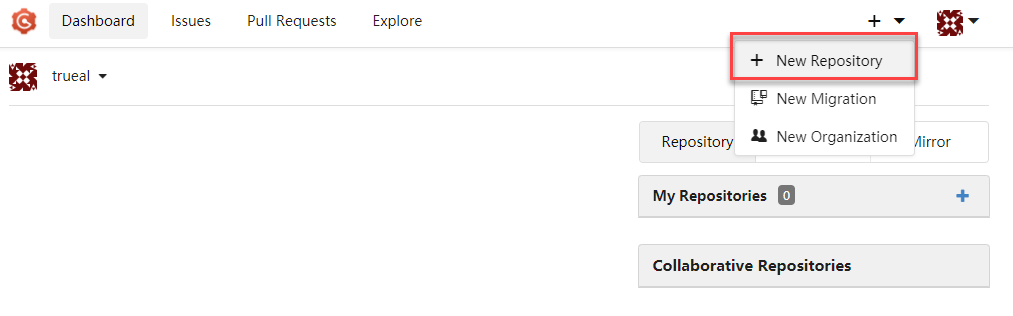
And welcome to your own git server 🙂 From the dashboard create a new repository:
You can fill the data as you like, make sure you check the “This repository is private” option.
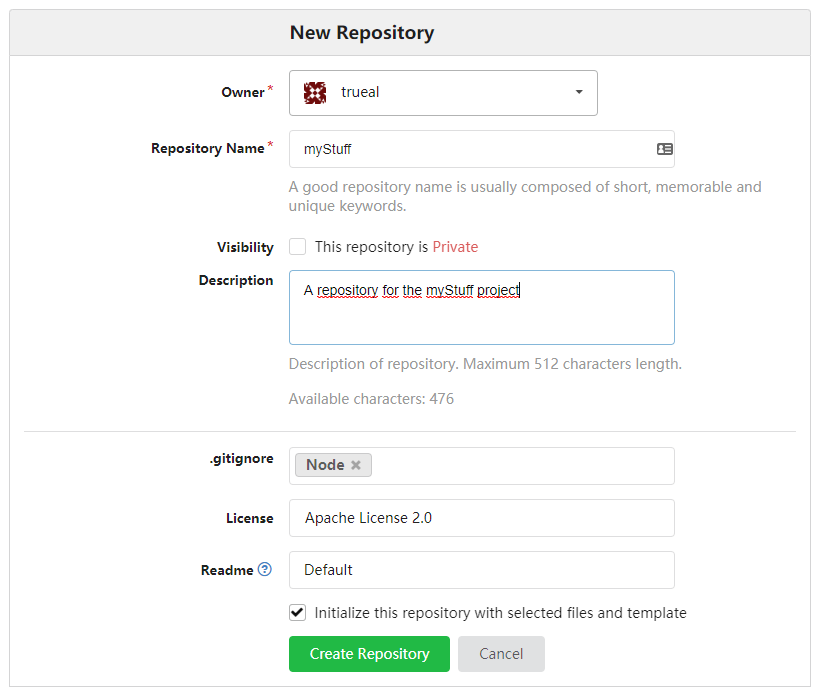
And there you go, ready is the self hosted repo.
Installing Visual Studio Code
Now it’s time to get Visual Studio Code (Code) installed and integrated with WSL2.
To begin with, let me mention that there is not the one IDE you must use, instead there are several. If you search the internet, you will certainly come across WebStorm, Atom, Komodo or Brackets and there are several more. However Visual Studio Code seems to be a good point to start for most users, since it is free, extensible and based on open source. Since it’s available for all major platforms, it should work for most users. You can find the downloads here:
https://code.visualstudio.com/Download

Launch the installer for your platform and install it. Once you start it, it should look like this:

On first launch it will ask you to install the WSL2 Extension, which you need to do:

This plugin will enable Code to work inside the WSL environment directly from Code. Also the terminal will work from Code, really nice 🙂
Once the installation is completed, click on the green icon in the lower left to connect to your WSL instance:


From here things will feel like if you are working on a Linux machine, if you open a terminal you will see that you are actually ‘inside’ the WSL environment.
You can use your Linux build and system tools, e.g. you can install missing packages with apt.
Setting up the development environment
Setting up node.js
Since we want to use node.js for our backend, it would be helpful to install node.js. However if we have a look at the download page, there exist several versions of node.js and the according tools.
In general it’s a not too bad choice to go for the most recent major version minus one, but if you will pick up development for existing projects, you will also notice, that they are based on way older
version of node.js. So how to deal with this? We will use node version manager for this, which helps to manage several parallel installations.
To install nvm, download and execute the installer script:
$ curl -o install.sh https://raw.githubusercontent.com/nvm-sh/nvm/v0.35.3/install.sh
$ vim install.sh      #look into the script to see if you trust it...
$ chmod +x install.sh # make it executable
$ ./install.sh
After installing, as suggested, you should close and re-open the terminal. This will load nvm along. To test if the installation was successful, issue
$ nvm --version
0.35.3
Of course the version you see might be different 😉
For this post we will use node.js version 12.18, which is a Long Term Support version. You can install it by typing:
$ nvm install 12.18
Now that we have everything prepared, it’s time to connect a repository.
Cloning the repository in your workspace
Now it’s time to clone it, type this in your Visual Studio Code terminal:
$ mkdir repos
$ cd repos
$ git clone http://localhost:10080/trueal/myStuff.git
Since we checked the “Make this repository private” flag, git will ask for credentials. Visual Studio Code will help you entering the credentials with a popup window:

We will use this repository to store all our code and test files. Not forget to configure your git identity:
$ git config --global user.name "Mona Lisa"
$ git config --global user.mail "mona.lisa@example.com"
We now do have an empty repository. Time to add some stuff to it 🙂
Initializing the repo
It’s pretty empty here, so lets start with adding a README.md. To open the repository, first click the ‘Explorer’ icon, the opn ‘Open Folder’:

Here Visual Studio Code helps us by letting us browse through the files inside the Windows Subsystem for Linux directory, although VSC itself is a native windows program.

Browse to ‘/home/hasgarion/repos/myStuff/’ and click ‘OK’
Next click on the add file icon:

and name the new file ‘README.md’. Enter some nice text to your file and save it with ‘CTRL + S’. You may notice a new indicator on the left side, it’s the git intgration:

You can simply add a file for a commit by clicking the plus sign

and then commit by clicking the checkmark:

To push your changes to the remote git, you can click the ‘Publish changes’ button in the status bar:

Visual Studio Code will ask for your credentials again. Then after a few moments, the push is completed and if you jump over to gogs again, you will see your README.md has arrived:

Now that we are able to write code and push it to a remote repository, it’s time to do some builds 🙂
Installing Jenkins
Before we start to build our code, we want to have our integration server up and running. Luckily docker was invented, and so setting up a local jenkins is more or less done with:
docker run -d -p 20080:8080 -v jenkins_home:/var/jenkins_home --restart unless-stopped --name=jenkins jenkins/jenkins:lts
Of course for a production setup you would want to consider other options, but for our playground this just sounds ok.
Jenkins has a build in mechanism that prevents a hostile takeover during setup, so the Jenkins setup will ask you for an information, that is only accesible by someone with console access, which is usually you 🙂
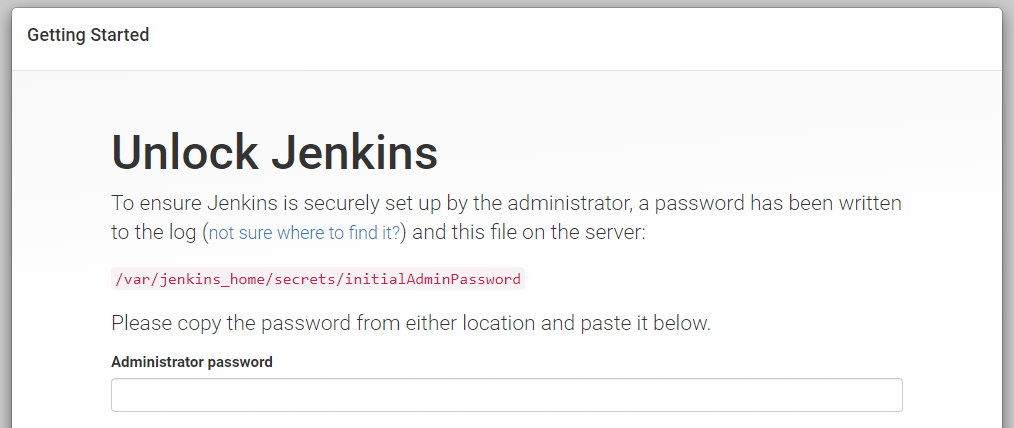
To get the content of the file, you need to issue this command on your host computer:
docker exec -it jenkins cat /var/jenkins_home/secrets/initialAdminPassword
Which should print a long random string to your console. You need to copy&paste it to the Jenkins setup.
In the next screen you can sefely choose “Install suggested plugins” and the Jenkins setup will start doing some magic.
If you want to see what is going on, you can always have a look at the logs with:
docker logs -f jenkins
which can be quite verbose, but helpful.
In my installation installing some of the plugins failed:

The logs indicate its root cause was a failed plugin installation due to a network timeout error:
2020-06-01 07:18:53.190+0000 [id=94] SEVERE h.model.UpdateCenter$DownloadJob#run: Failed to install trilead-api
java.net.SocketTimeoutException: connect timed out
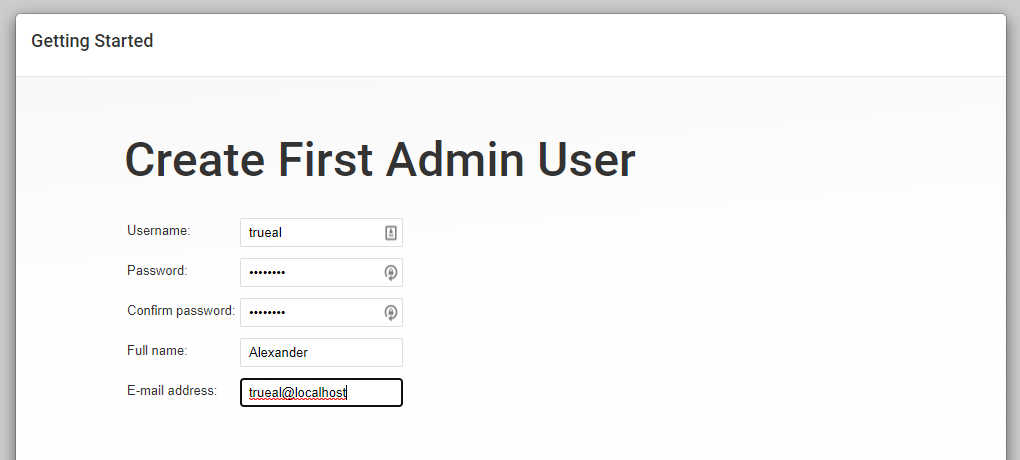
OK lets retry the installation, this time it works. You will be asked to create a user:
And now you need to configure the URL, where Jenkins will be hosted:
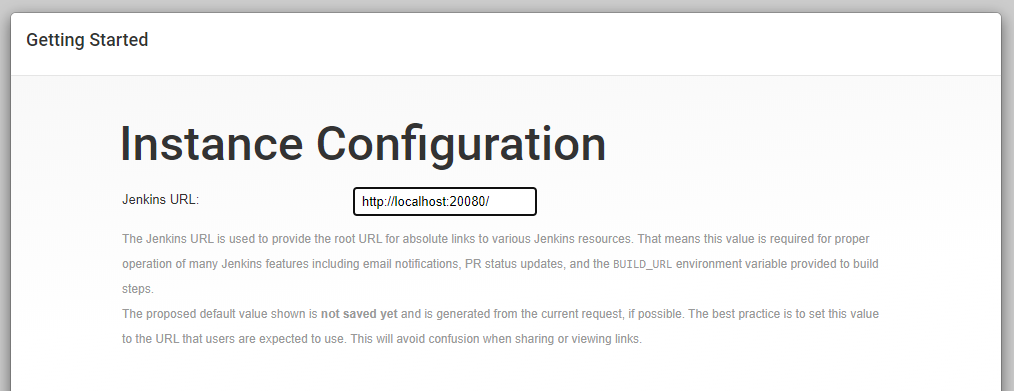
This setting is especially important, when you want to host Jenkins on a server, where it will be used together with other developers.
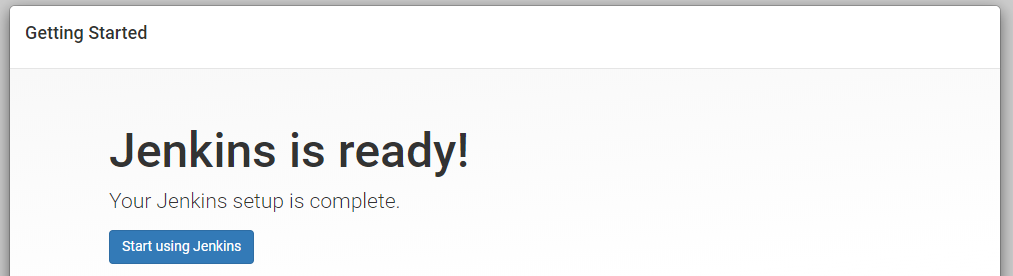
And it’s done 🙂 Now we will need to install some plugins, to do that go to http://localhost:20080/pluginManager/ and click “Available Plugins”

From there install the nodejs plugin (search from the lower search box ‘nodejs’) and ‘install without restart’.
To create a new job, go to the Jenkins dashboard and click ‘new item’, name it ‘myStuff’ and select ‘Freestyle project’:

With ‘OK’ Jenkins will show the project setup screen, where we will enable our git repo. The hostname ‘host.docker.internal’ points to the docker host, from where we can access the portmapped gogs.

The repo URL is
http://host.docker.internal:10080/trueal/myStuff.git
for this demo, make sure you choose the right one. We need to add credentials to Jenkins for it to access the repo, click on the add button to do so.
For the purpose of the demo we will just add credentials systemwide, do not ever do this on a real Jenkins!

After adding the credentials, make sure to select them from the dropdown. For this demo setup we will not rely on build triggers, but you could configure different behaviours for a real world setup.
For now, we click on ‘Save’ at the bottom and we have a job created, which doesn’t do anything yet, but we will configure this in one of the next posts.
Conclusion
Now we have all the tools in place we are going to need on our journey. We can push and pull from and to our git server, we have our Jenkins connected to the repo as well.
We can work inside of our WSL with Visual Studio Code.
A good time to take a break 🙂